What Happens During an Aesthetic Restoration? A Step-by-Step Guide
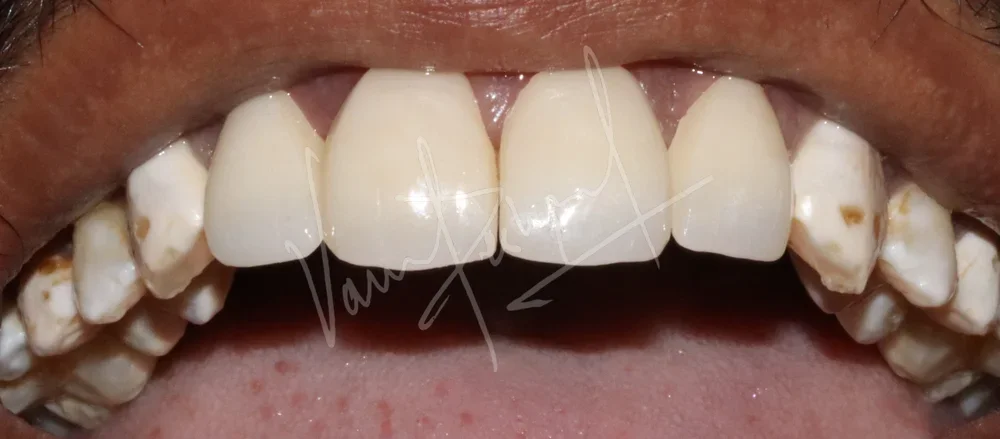
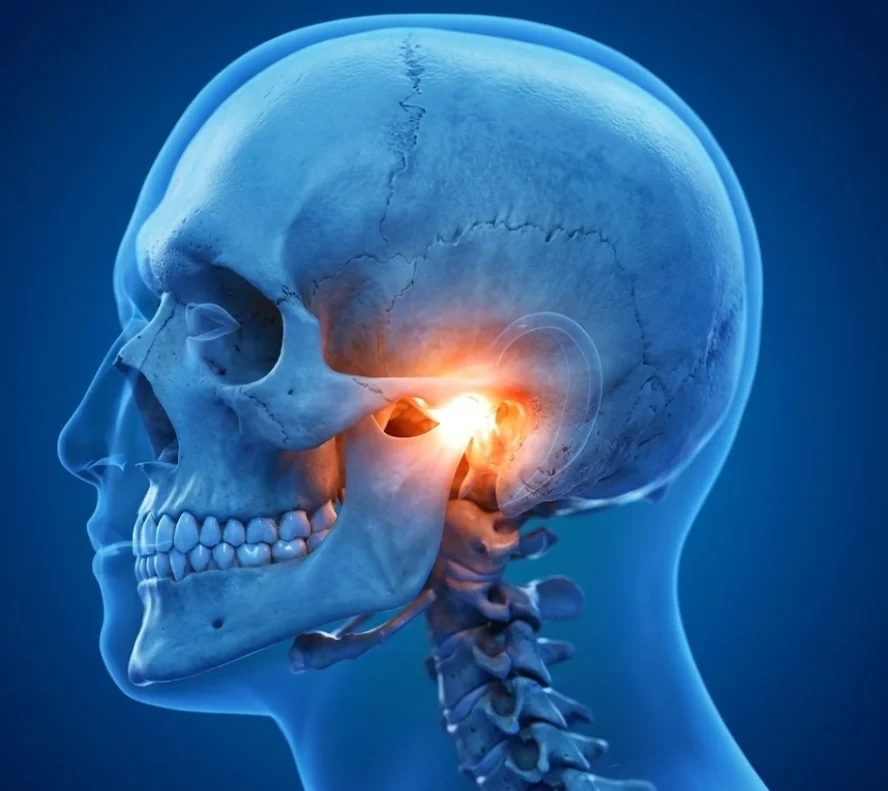
Have you ever looked at a small chip in your front tooth or a dark gap between your teeth and thought, "It's not bad enough for a crown, but it bothers me"?
This is exactly where Aesthetic Restoration (also known as Cosmetic Bonding) shines. Unlike a standard filling which just plugs a hole, aesthetic restoration is an artistic procedure used to sculpt, reshape, and rebuild your teeth to look naturally perfect.
At Deshpande Dental Care & Implant Centre, patients are often amazed that we can transform their smile in a single 60-minute appointment. But how exactly do we do it? Let's walk through the magic, step-by-step.
What is Aesthetic Restoration?
It is a minimally invasive procedure where we apply a high-strength, tooth-colored resin (Composite) to your tooth. Unlike the flat, white fillings of the past, modern aesthetic composites have different levels of translucency, opacity, and fluorescence—just like real enamel.
Dr. Rucha Deshpande (MDS Conservative Dentist & Endodontist) specializes in this preservation technique:
"Our goal is to be invisible. A natural tooth isn't just one color; it has depth. To make a restoration blend in, we have to recreate the internal structure of the tooth layer by layer, preserving as much natural enamel as possible."
The 5-Step Procedure
Step 1: Shade Selection (The "Color Map")
Before we do anything, we match the color. We don't just pick "White." Dr. Rucha uses a special light to analyze your tooth's gradient.
- We select an Opaque shade for the inner dentin.
- We select a Translucent shade for the outer enamel.
- We might even use Blue or Amber tints to mimic the halo effect at the tip of your tooth.
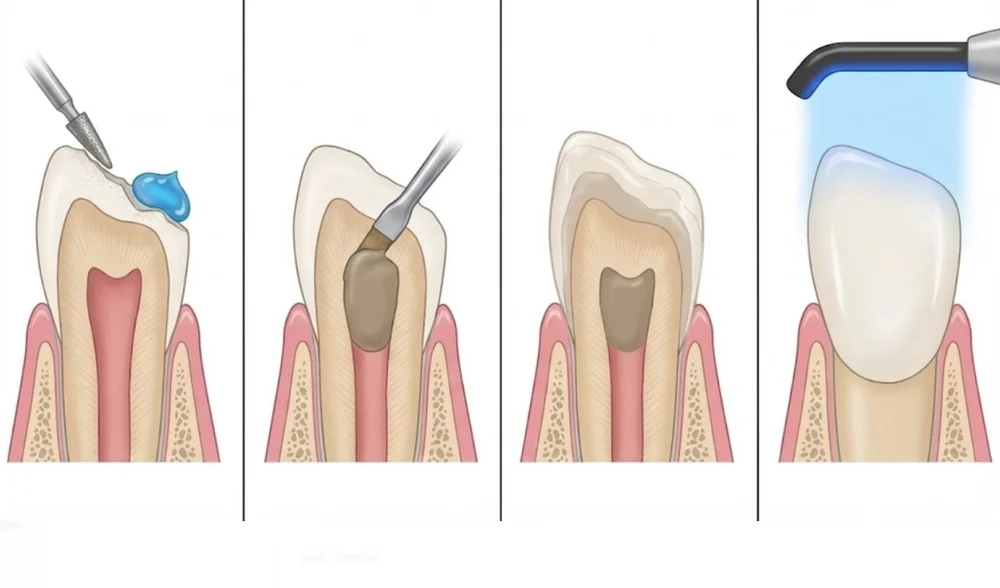
Step 2: Minimal Preparation (The "Roughing")
This is the best part: There is usually no drilling. We simply clean the tooth surface and roughen it microscopically using a mild etching gel. This creates a "frosty" surface that allows the material to bond tightly.
- Pain Level: Zero. Anesthesia is rarely needed unless the fracture is very deep.
Step 3: Layering (The Art)
This is where the specialist's skill comes in. Dr. Rucha doesn't slap the material on at once. She builds it in 1mm increments.
- The Core: She builds the internal shape using a strong, opaque resin to block out darkness.
- The Body: She sculpts the main shape of the tooth.
- The Enamel: She applies a final, glass-like translucent layer to give the tooth depth.
Each layer is hardened instantly using a high-intensity Blue LED curing light.
Step 4: Contouring (The Anatomy)
Once the material is hard, the tooth looks a bit bulky. Dr. Rucha uses fine polishing discs and burs to carve the anatomy.
- She rounds the corners to match your face shape.
- She adds "surface texture"—tiny grooves that reflect light so the tooth doesn't look like a flat piece of plastic.
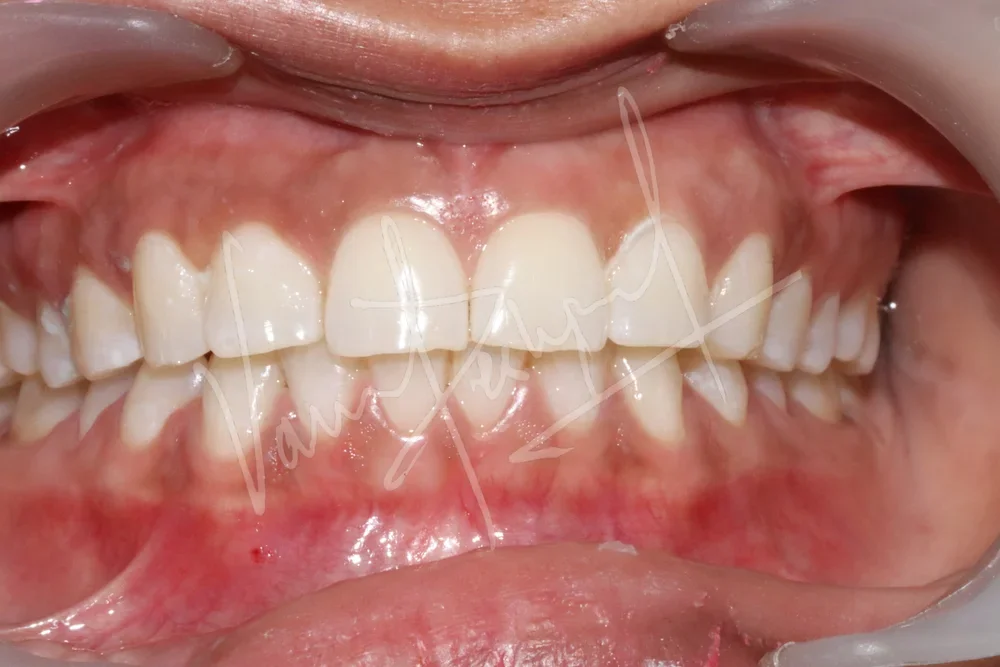
Step 5: Final Polish (The Shine)
We use a diamond polishing paste and a soft buffing wheel to give the restoration a high-gloss shine. When you lick your teeth, you won't be able to feel where the tooth ends and the restoration begins.
Why Choose This Over Veneers?
- Conservative: We save your natural tooth structure.
- Fast: Done in one visit.
- Cost-Effective: Significantly cheaper than porcelain veneers.
- Repairable: If you chip it eating hard candy, we can fix it easily.
Conclusion
You don't need invasive surgery to get a beautiful smile. Whether it's a chipped edge from a cricket ball or a gap you've hated for years, Aesthetic Restoration is the modern, non-invasive solution.
Ready for your mini-makeover? Visit Deshpande Dental Care (Civil Chowk or Jule Solapur) and let Dr. Rucha Deshpande sculpt your perfect smile today.